
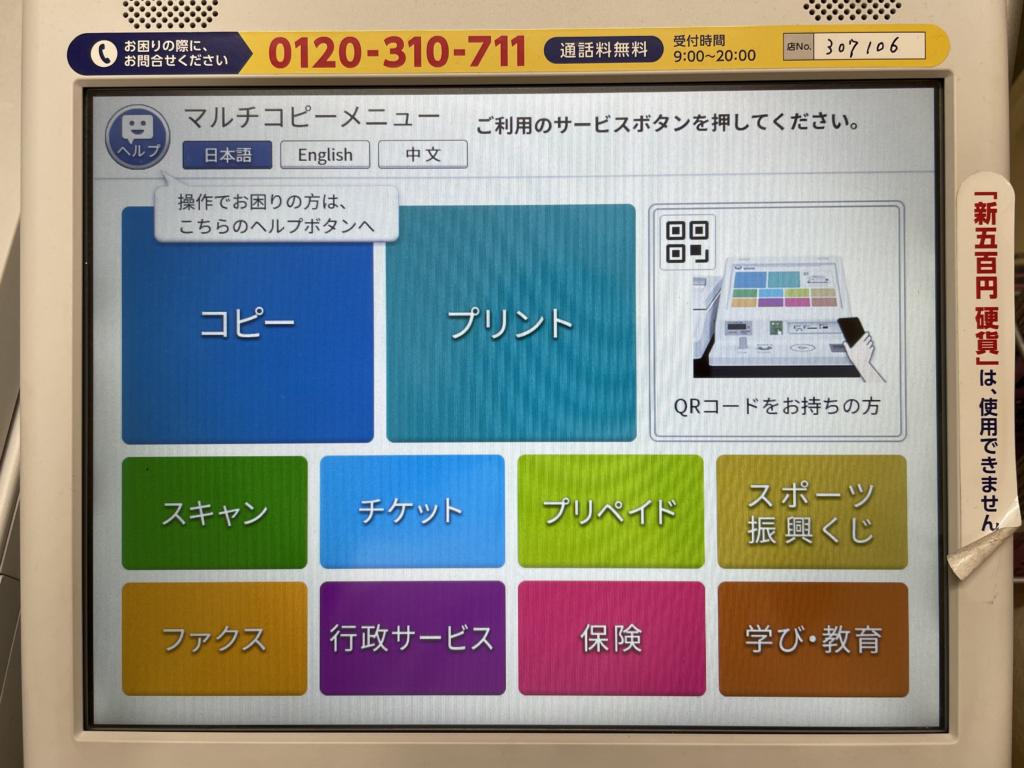
Seven-Eleven copy machines have a function called "booklet printing" that automatically prints on both sides of the paper. Here we summarize how to make a photocopy book using Seven-Eleven's booklet printing for beginners in doujinshi activities.
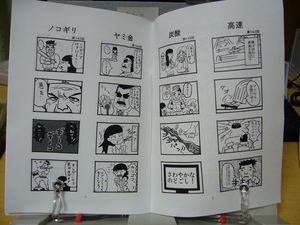
Source: blog.livedoor.jp
book making
I will go home and bind the book.
Creating and outputting PDFs in Scribus seems to work fine.
The high resolution one did not show any jaggies, but did show moiré in the solid grayscale areas. The low resolution one showed jaggies but no moiré in the solid grayscale areas.
Doujinshi (story manga)
7-Eleven Internet Printing Course - Sleepless Night Sky
night.littlestar.jp
Here is a report that will be useful for creating a doujinshi of story cartoons. ↓↓.
Data used for printing
Source: www.discountandfree.net
Only merged PDFs are supported for data
Data used
Resolution: 600 dpi
Size: B5 full size
Creation environment: Photoshop 6.0
Mode: B&W with two shades of gray (some manuscripts are Greske)
File Format: PSD → PDF file per page → PDF files were combined in ascending order without imposition
Number of pages: 26
Total size: 18.5MB
Note that only merged PDF data is supported.
Please note that TIFF and JPEG data cannot be used for this booklet printing!
1. Create a full-size document with a resolution of 600 dpi.
Source: www.inv.co.jp
600 dpi resolution, original size of the original document
First, create a manuscript with a resolution of 600 dpi and the original size you wish to publish.
The manuscript can be a novel, a comic book, or an illustration, and can be in bi-tonal, greske, or color.
However, please be sure to create your manuscript using software that can output in PDF format.
After outputting the manuscript in PDF in single sheets, use PDF merging software to combine them in ascending order.
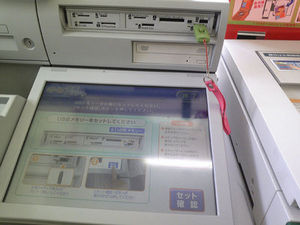
2. "Document printing" at a Seven copy machine
Source: red.ap.teacup.com
Document printing" at a Seven copy machine
Source: d.hatena.ne.jp
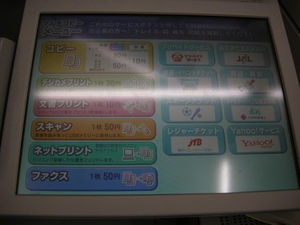
Booklet Selection
Bring in the PDF merged data by USB memory stick, etc., and select "Document Print" to print.
*There is not a major item called "Booklet Print" in the menu, but "Booklet Print" as a function of "Document Print".
The selection of booklet print is made after the monochrome/color selection. Right or left binding can also be selected.
Note that the paper setting must be set to A4 for A5 booklets and B4 for B5 booklets.
Printed paper is ejected in the order in which it was set, so you can immediately bind a book by folding it in half as it comes out.
3. Bind the printed book
Bind the printed book.
Printing quality and price
Full-size printing is not possible.
Source: faq.ricoh.jp
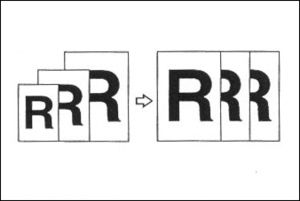
Is it possible to print full size?
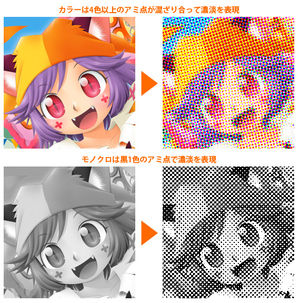
When printing with document print, the data is automatically scaled to fit the paper, so the original size cannot be printed. Unfortunately, there seems to be no improvement in this area, and the fine-grained tones in this print also have a lower reproduction rate and moiré occurs.
Nevertheless, some people who create manuscripts with a rough eye center will hardly notice it. In addition, grayscale printing is also supported, so there is no particular quality problem here.
This time, the original was 26 pages, but the price was 140 yen for a 28-page print job, which seems to be automatically adjusted to multiples of 4 in the case of booklets.
Recommended for

◎ I want to publish a novel book without any hassle anyway.
Simply write your novel in Word, convert it directly to PDF (*), and bring it with you on a USB. No other software is required, making it possible to create a coterie magazine very easily!
◎ I want to publish a comic book with a grayscale manuscript.
The reproduction rate of grayscale manuscripts created with Photoshop and other software is very high. Therefore, it is also compatible with data created in pencil.
I want to publish a comic book with a toned manuscript.
Due to the reproduction rate, this is not recommended. If you want to publish your work, it would be better to use coarser tones.
I want to publish a book at a reasonable price.
The printing cost is 20 yen per side for both A4 and B4. This is a typical price for a copy machine.

Contents
- Seven-Eleven copier service "booklet printing"
- Doujinshi and booklet printing go hand in hand.
- For four-frame comic doujinshi
- 1. Created with DTP software "Scribus (Ver. 1.4.1)
- 2. "Document printing" at a Seven copy machine
- Specify the number of copies to be printed and insert coins.
- 4. Binding
- Doujinshi (story manga)
- Data used for printing
- 1. Create a full-size document with a resolution of 600 dpi.
- 2. "Document printing" at a Seven copy machine
- 3. Bind the printed book
- Printing quality and price
- Full-size printing is not possible.
- Recommended for
- summary
- Related Links