
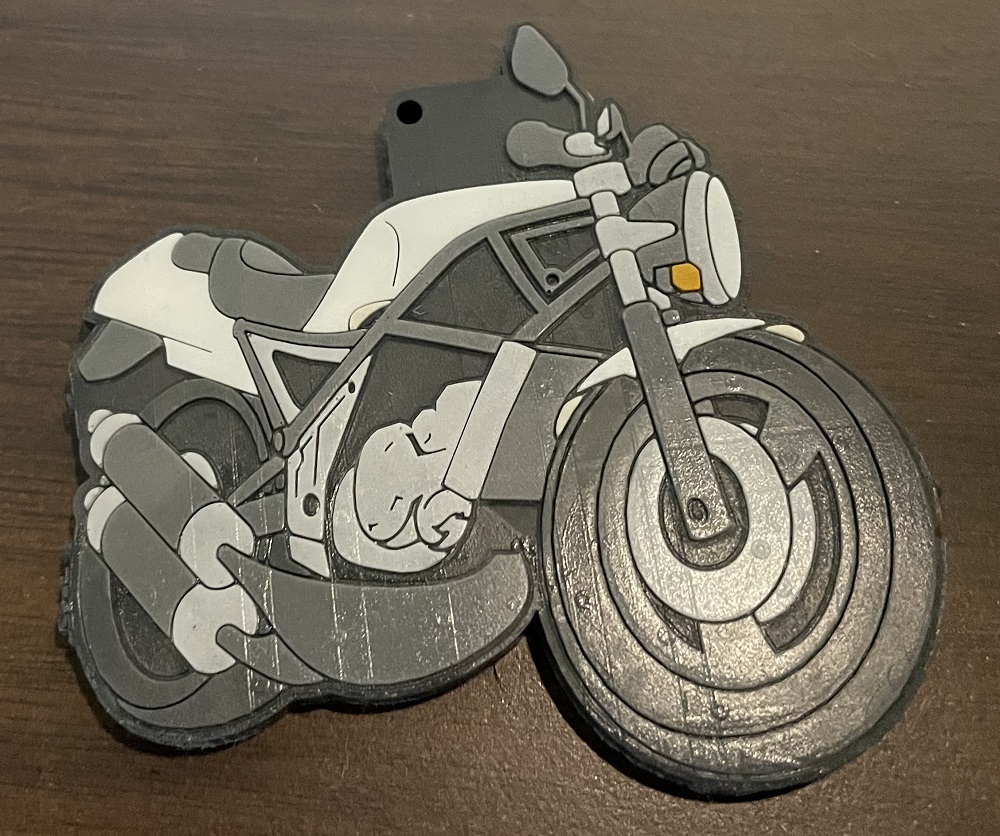
Here we have compiled instructions on how to make your own original rubber strap. Anyone can easily make their own rubber strap by following the instructions. If you use an existing illustration, please do not give it to others, but keep it for your personal enjoyment only because of copyright issues.
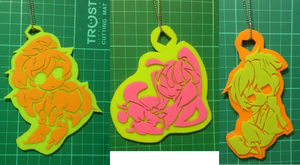
The 2 mm rubber is cut at each part, directly colored and attached.
Since there is a step, it becomes closer to the real thing, and the color is not particularly limited.
Coloring seems to be a detailed work.
Difficulty level ★ ★ ★
way of making
I made a KanColle rubber key ring.
www.nicovideo.jp
Silicone rubber
Source: paranoiagurafiter.web.fc2.com
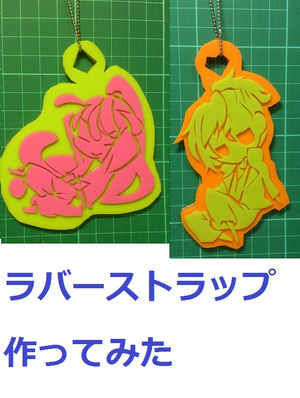
You can make it with products from 100 yen shops.
The colors will be limited, so it will be 2 or 3 colors.
Difficulty level ★ ★ ★
How to make
Source: paranoiagurafiter.web.fc2.com
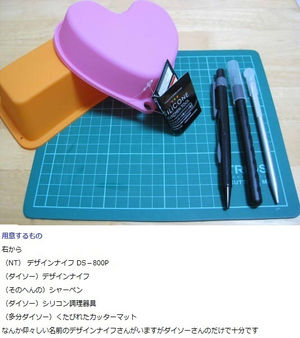
Things to prepare
・ Design knife
- Mechanical pencil
・ Silicon cookware (Daiso)
・ Cutter Mat
・ Adhesives
- Strap fittings
Source: paranoiagurafiter.web.fc2.com
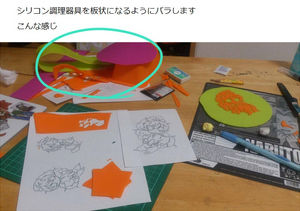
1. Cutting silicon cookware
Cut off the silicon cookware to make it easier to process.
Source: paranoiagurafiter.web.fc2.com
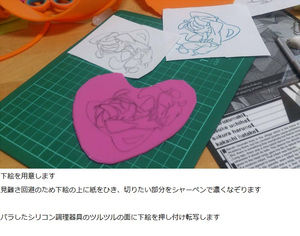
2. Transfer the illustration
Transfer the illustration to the smooth surface of the silicon.
How does transcription work?
First, draw an illustration on a piece of paper. Put the drawn side on silicon and rub it from the top (the back side of the paper). The pencil will move.
Source: paranoiagurafiter.web.fc2.com
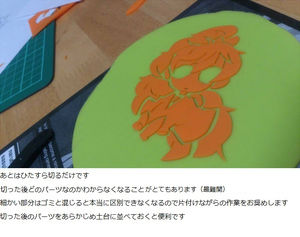
3. Cut according to the illustration.
Cut it with a design cutter as shown in the line.
Source: paranoiagurafiter.web.fc2.com
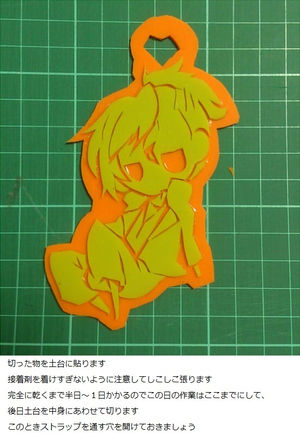
4. Attach to the base
Make silicone for the base, and paste the previously mentioned parts on it.
Leave overnight to dry.
Source: paranoiagurafiter.web.fc2.com
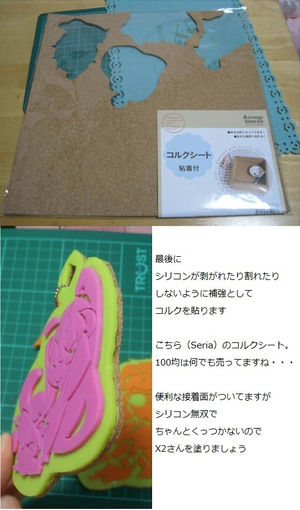
5. Reinforce
Put a cork sheet on the back.
The seal of cork sheet does not stick silicon.
Stick it together with adhesive.
Source: paranoiagurafiter.web.fc2.com
7. Attach the metal fittings and it will be complete.
Finally, attach the strap bracket and it's done.
Source: item.rakuten.co.jp
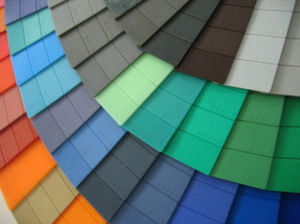
The silicon rubber has less colors.
It's easier to cut than rubber plate and relatively easy to process, but commercially available silicon rubber doesn't seem to have many colors.
(I can't find the skin color.)
It might be better to make it in design such as single color or two colors.
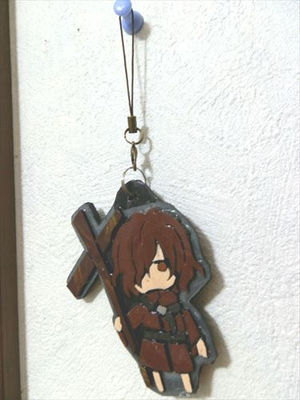
Make a rubber strap out of oven clay
Source: kousakuukan.qlookblog.net
How to make
Source: kousakuukan.qlookblog.net
Things to prepare
・ Rubber board
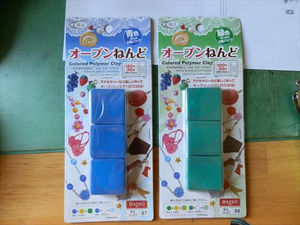
・ Oven clay
Glue for puzzles (for coating)
・ Noshi stick, cutter, cooking sheet, adhesive, strap string, etc.
Source: kousakuukan.qlookblog.net
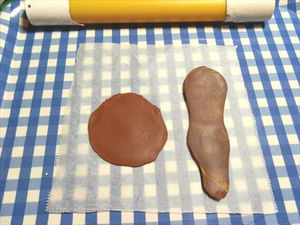
1. Mix it to make a color and spread it thinly.
Mix the oven clay to make your favorite color, knead it well and spread it thinly.
If you sandwich the dough with parchment paper and stretch it out, it won't stick together.
Wrap the left and right side of the Noshi stick with thick paper so that the thickness becomes even.
Bake this in the oven.
Source: kousakuukan.qlookblog.net
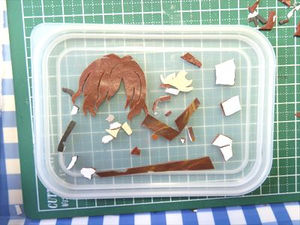
2. Cut the baked oven clay.
Cut the baked oven clay into your favorite pattern.
Paste the prepared illustration on the back and cut the parts together with the paper.
Source: kousakuukan.qlookblog.net
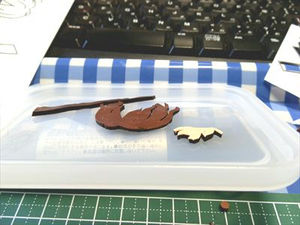
3. Paint sides black
Use a black oil-based pen to -based pen.
You don't have to spread it, so do it as you like.
Source: kousakuukan.qlookblog.net
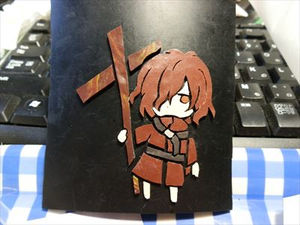
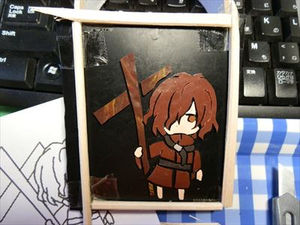
4. Attach to rubber plate
Line up the oven clay and stick it together with glue or double-sided tape.
Source: kousakuukan.qlookblog.net
5. Attach the disposable chopsticks and pour the glue.
Stick disposable chopsticks around it to prevent the glue from flowing out.
Pour plenty of "puzzle glue" from the top and let it dry.

Contents
- Draw
- Before you make the rubber strap
- Please enjoy the secondary works on an individual basis!
- Printing seal IT'S. IT'S.
- How to make
- If you care about durability and perfection
- Step-colored rubber
- way of making
- Silicone rubber
- How to make
- Make a rubber strap out of oven clay
- How to make
- Make by shaping
- How to make (prototype version)
- How to Make (Shaping Stitch)
- How to Make (Actual Production)
- Finished products by material
- Made with acrylic resin
- Made with Bond
- Made with bond and starch glue
- Made of paper clay
- synthetic glue
- Sealing materials for construction
- resin
- BONUS ーラバスト STYLE template REFERENCE LINK
- Summary
- Related Summary