
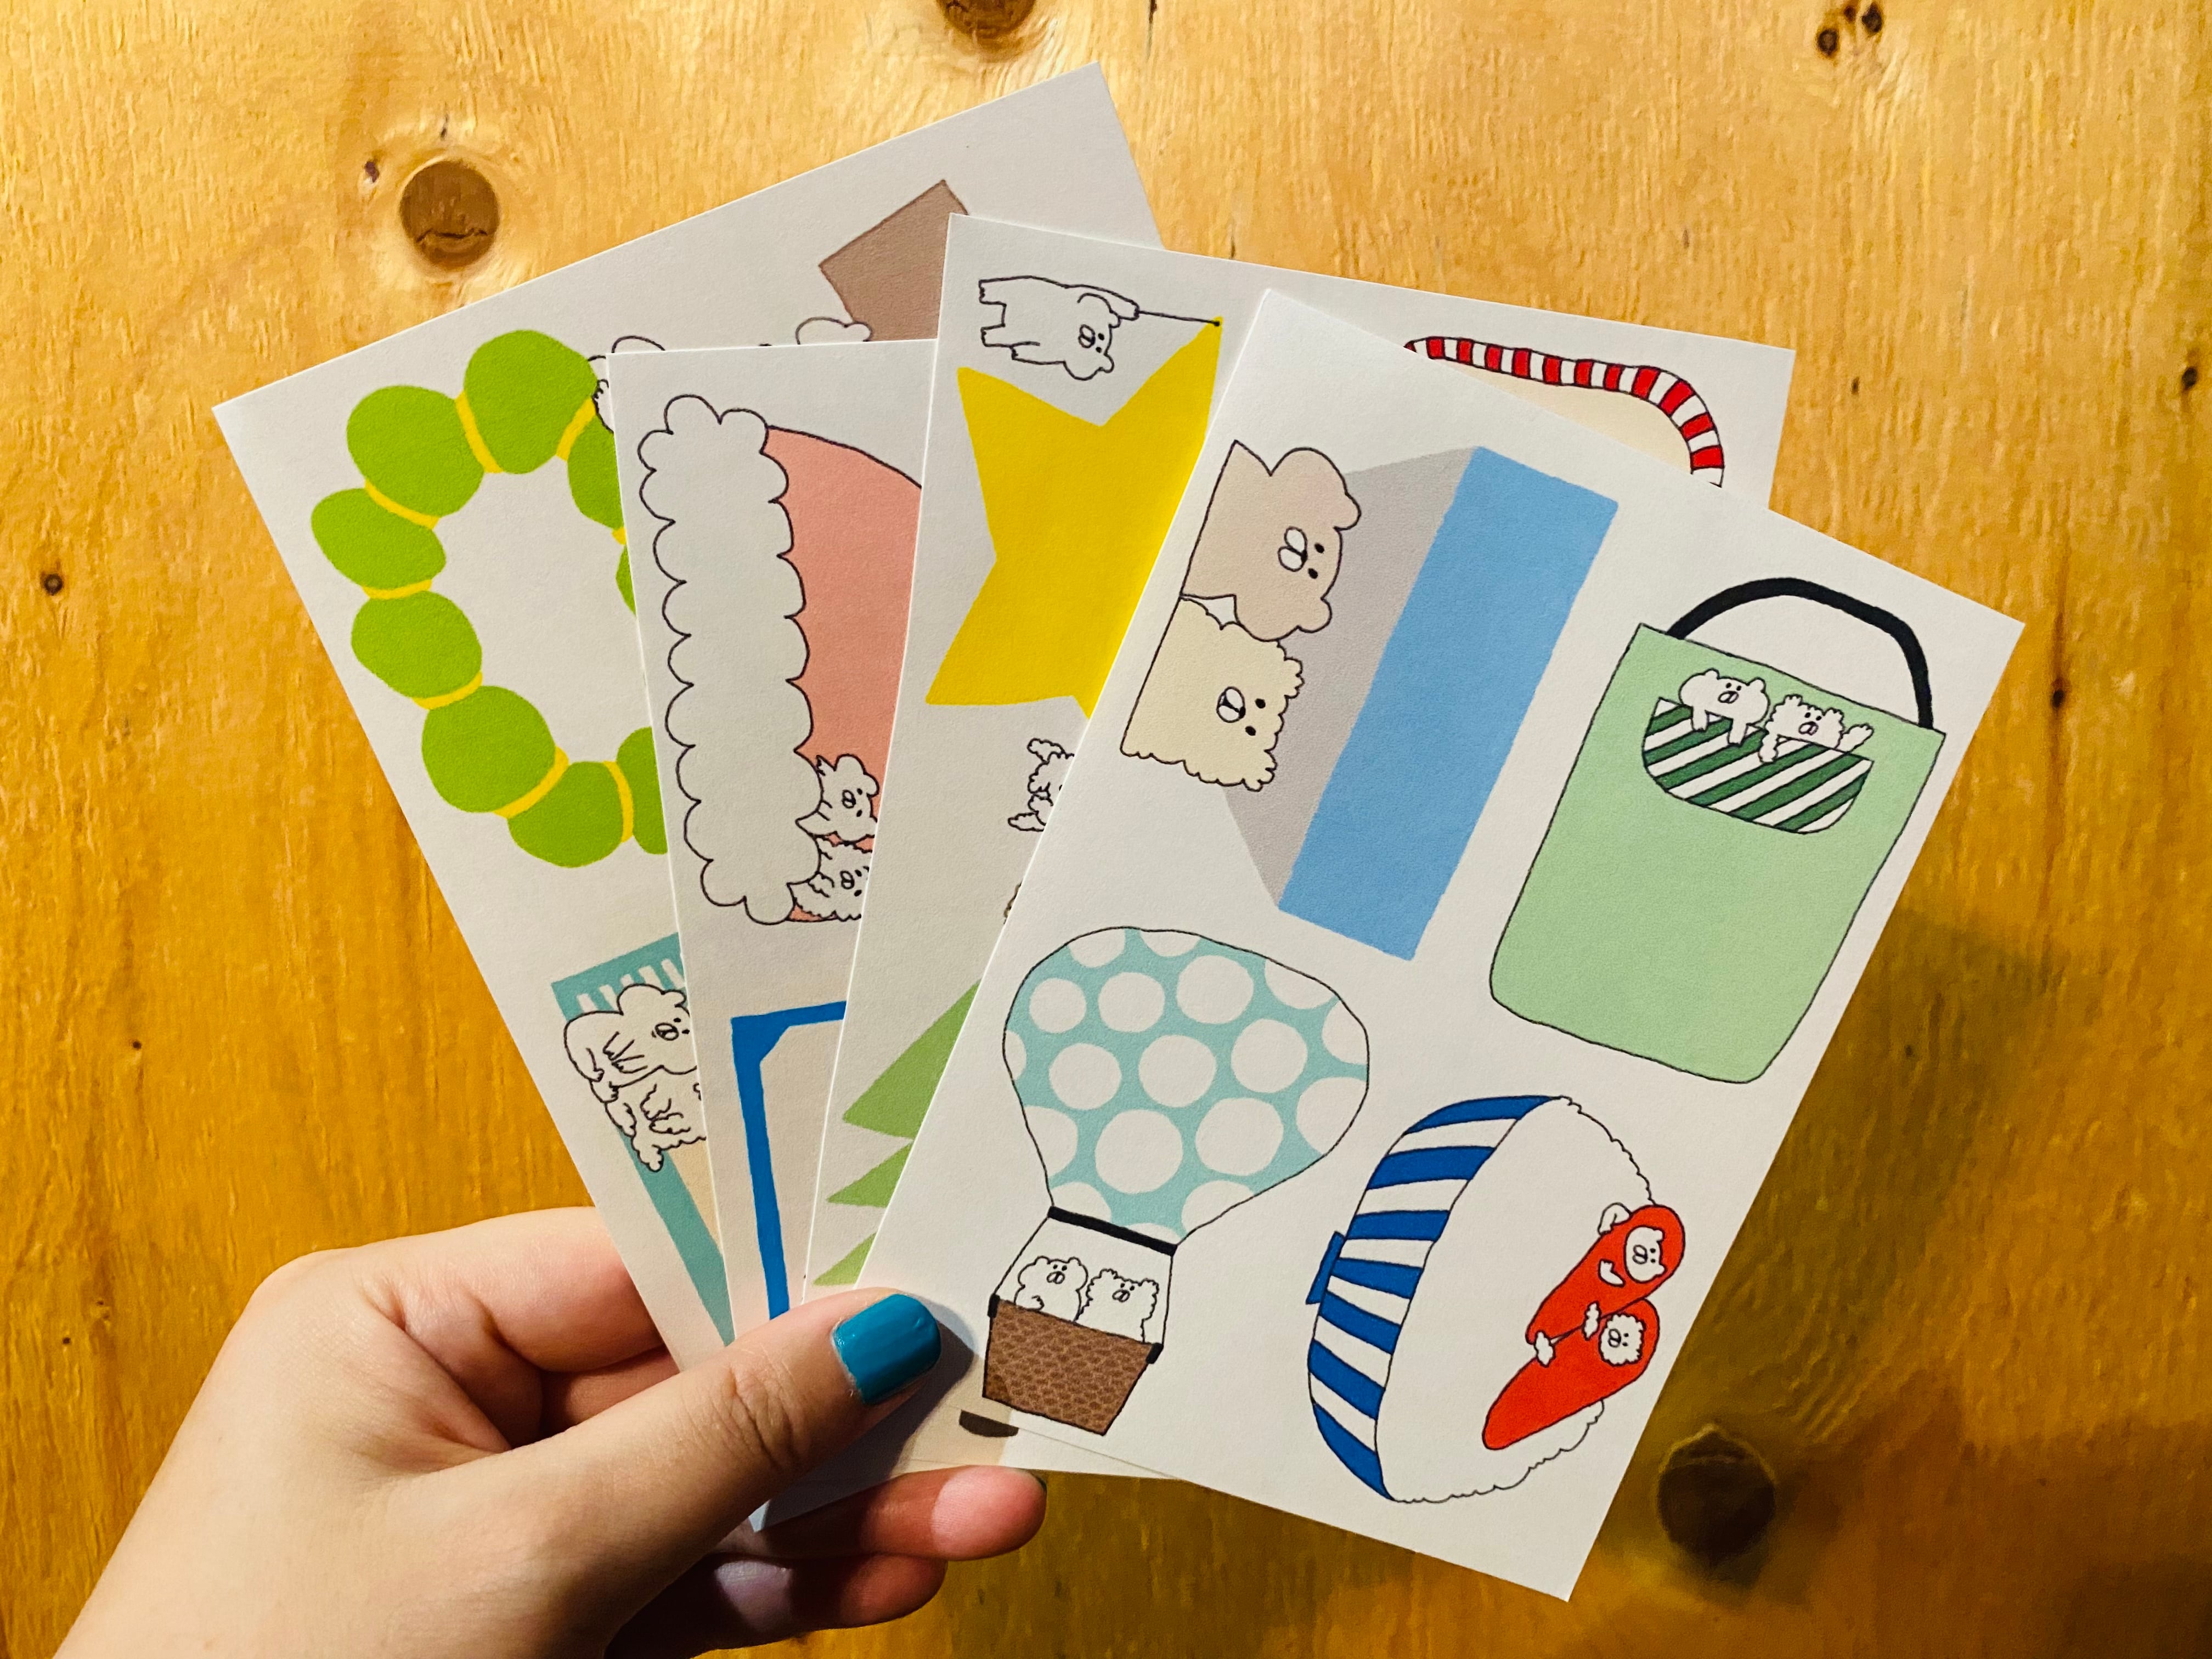
Here, we have compiled a list of simple methods for making original stickers that can be used at coterie events. It also introduces how to use stamps and glass paints, as well as how to make stickers using a print shop or a commercially available sticker kit.
I want to make stickers by hand! I want to make them cheaply!
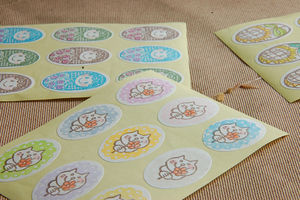
Source: www.yokogoo.com
Hire a contractor...? No, you can make it at home!
I want to make my own original goods, but asking a printing company is too expensive...
The price is high, and the minimum lot size is large.
If you want to enjoy your original goods by yourself or sell them in small quantities at coterie magazine sales, you can make them by hand!
Update: December 14, 2015 (masking tape stickers)
table of contents
Making stickers with everyday items
Double-sided tape and cooking sheets
L Arrangement (fabric stickers)
Masking tape
Stamps
Woodworker's bond
Glass paints
Printing on label paper
Printing on label paper (100 yen store)
Printing on label paper (electronics mass retailer)
L Difference between labels sold at 100-yen stores and electronics mass merchandisers
How to protect the surface
Transparent tape
Laminated
Resin
How to make stickers with commercially available products
Toy sticker maker
Seal revival pen
Is it actually cheaper? When you ask a vendor to make stickers
Printing companies that offer inexpensive, small-lot printing services.
Ask at a copy center.
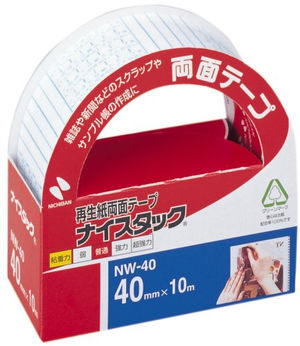
Make a sticker with double-sided tape.
Source: www.amazon.co.jp
Your own illustrations, photos, clippings, etc...
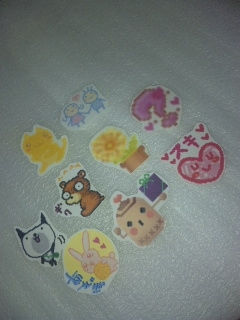
Just use double-sided tape to easily turn them into stickers!
How to make stickers using double-sided tape
Source: atelier.woman.excite.co.jp
What to prepare
Materials
Image to be used as a sticker
Cooking sheet
Double-sided adhesive tape
Masking tape (not necessary)
Transparent tape
Tools
Scissors
Source: atelier.woman.excite.co.jp
1. Die-cut the illustration
First, prepare the item to be used as a sticker.
At this time, cut about 0.3 mm larger to allow room for the part to be cut later with scissors.
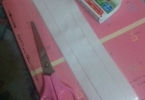
Source: atelier.woman.excite.co.jp
2. Attach double-sided tape to the cookie sheet.
Next, apply the double-sided tape to the cookie sheet.
At this point, if you do it on a flat, hard surface, the work will be a little easier.
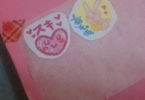
Source: atelier.woman.excite.co.jp
Peel off the release paper and place the illustration on top.
Rub the double-sided tape over the top and peel off the peeling paper.
Place the item to be sealed on top of the tape.
(Make sure not to overflow from the double-sided tape so that there is no waste.)
If you find it difficult to apply the stickers at this point, you can use a masticator to attach the four corners of the tape to make it a little easier.
Source: atelier.woman.excite.co.jp
4. Put transparent tape on the top and cut it out.
After the sticker is finished, apply transparent tape over the top and cut it with scissors to fit the image to complete the sticker.
Source: blogs.yahoo.co.jp
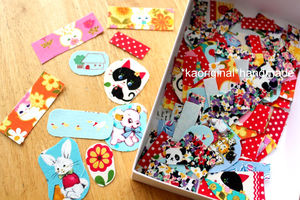
If you use hagire, it can be used as a fabric sticker!
If you put double-sided tape on the hagire and cut it,
It can also be used as a cloth sticker.
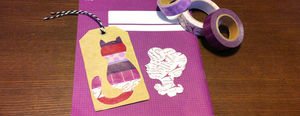
Make stickers with masking tape.
Source: studiopacot.com
Simply by pasting masking tape together, stickers can be easily created!
How to make stickers using masking tape
Source: studiopacot.com
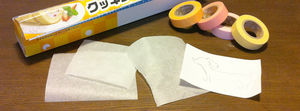
What to prepare
Masking tape
Cooking sheets
Paper
Pencils
Scissors
Source: studiopacot.com
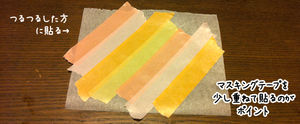
1. Apply masking tape
Apply the masking tape to the smooth side of the cookie sheet.
The key is to overlap the masking tape slightly.
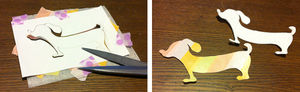
Source: studiopacot.com
2. Cut into silhouette
Cut out a piece of paper with the silhouette you want to create, overlapping it on a cookie sheet covered with masking tape.
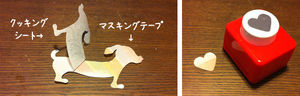
Source: studiopacot.com
3. Remove the cookie sheet.
Remove the cookie sheet and the sticker is ready to use.
It would also be interesting to hollow them out with a craft punch.
Making a seal with a stamp
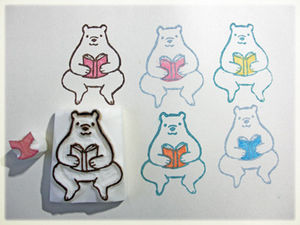
Source: ossu.blog47.fc2.com

Contents
- I want to make stickers by hand! I want to make them cheaply!
- table of contents
- Make a sticker with double-sided tape.
- How to make stickers using double-sided tape
- Make stickers with masking tape.
- How to make stickers using masking tape
- Making a seal with a stamp
- How to make a seal using a stamp
- Make a seal with wood bond.
- How to make a seal using wood bond
- Making stickers with glass paints
- How to make glass paint stickers
- Make stickers with label paper
- Make stickers with 100 yen label paper.
- No-cut type label to place images
- If you want to mass-produce the same seal, use a template.
- Use label paper available at electronics retailers.
- Difference between 100-yen store and exclusive labels
- Protect seal surface
- Protect with transparent tape
- Protect with a laminator
- Protect with resin
- Made with commercially available sticker kits
- But, as I said, if you want to mass-produce, you need a printing press.
- Copy center services are also available.
- summary
- Related Summary
- Please refer to this page for the handmade Ramicas and canned badges.