
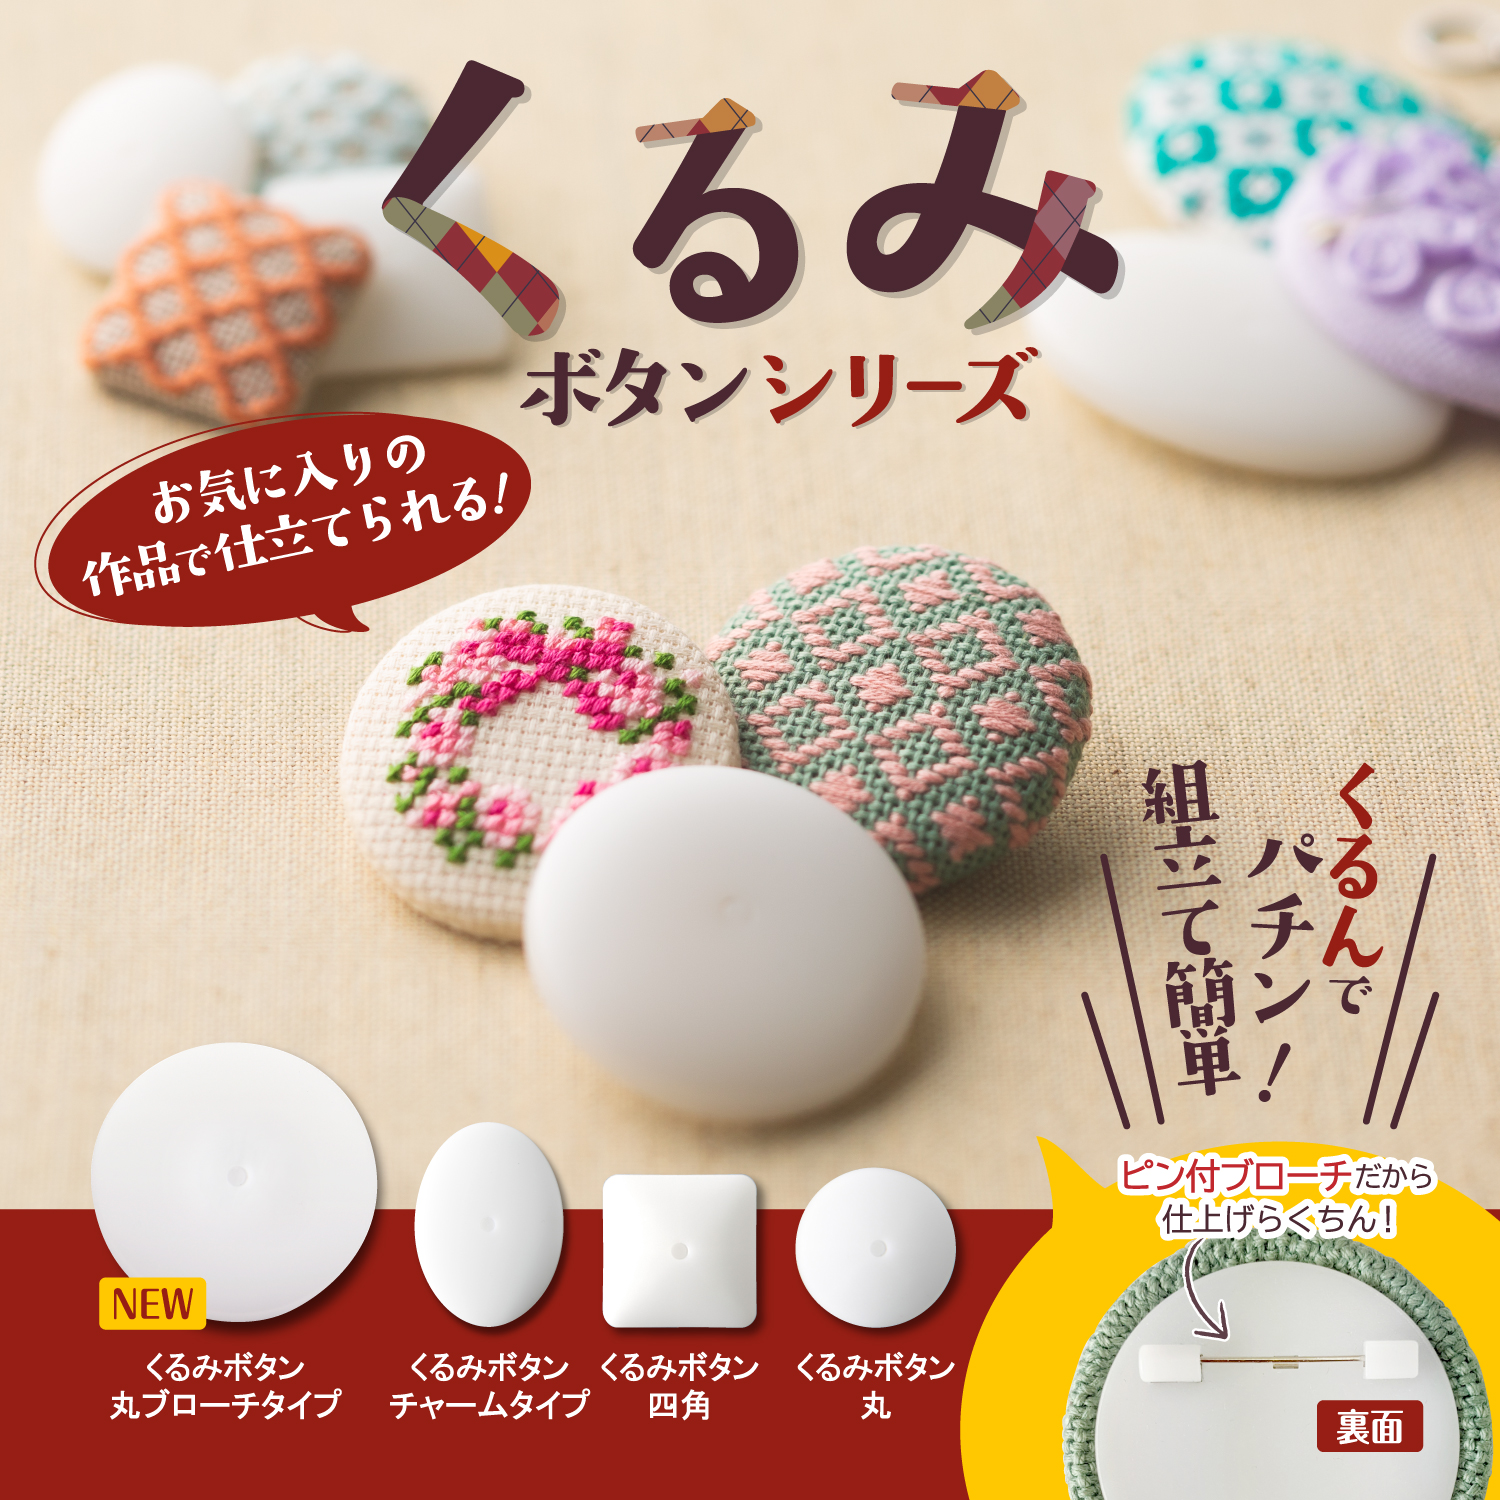
Here, we will explain the procedure for making handmade badges using "Kurumi-buttons" available at Daiso and other 100 yen stores. You can make your own illustrations, images of your guesses, or photos of your memories into badges at a low cost.
Source: www.amazon.co.jp
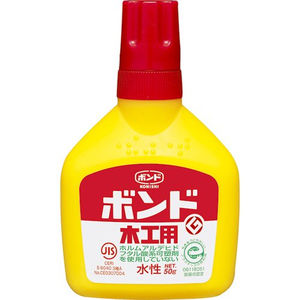
Apply a generous amount of water-based adhesive to the walnut button kit and affix a piece of copy paper.
After setting the body, apply about three coats of water-based varnish.
The trick is to apply plenty of bond to the copy paper first to stretch out the wrinkles well.
Wrinkles even in improved and definitive versions.

Source: www.amazon.co.jp
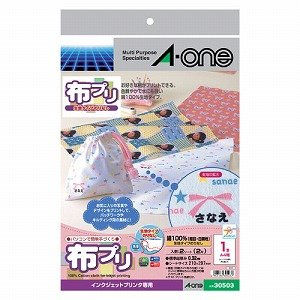
Special fabric that can be printed on cloth.
The bottleneck is that the material is more expensive than paper.
There seems to be inexpensive cloth made overseas, but the quality is the same.
But even the improved and definitive versions have wrinkles. Unfortunately, it is undeniable that wrinkles are created when trying to make a badge with the Kurumi Button Kit.
I think the reason is that paper and PP film are forced to be set on the "cloth-wrapped" Kurumi-buttons. The circular shape is another factor that makes it easy for paper and PP film to wrinkle.
It would be a waste of time and effort if paper or PP film wrinkles.
Here, we recommend using cloth for the badges.
Unlike paper, cloth cannot be printed and it is difficult to draw pictures on it. Using cloth-printable paper, you can print illustrations and photos on cloth, and use the cloth to make badges.
Creating badges using fabric prints
1. First, print illustrations/photos on fabric paper that can be printed directly on fabric.
Search for "label shop" on the Internet (textile samples are available).
Print with an inkjet printer.
Dry well for at least 30 minutes.
Gently peel off the fabric from the backing paper.
Wash off any ink stuck in the eyes with water.
This completes the creation of the original cloth.
Source: item.rakuten.co.jp
2. Wrap in cloth
The basics are the same as for making paper badges.
Instructions are also included in the Kurumi-Button Kit.
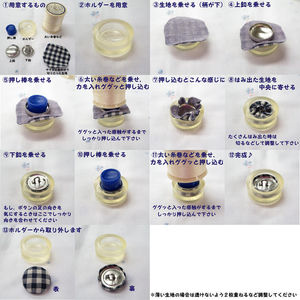
・ Walnut button part set is used.
- Place the cloth on the silicon table.
・ Place the shell (parts) on the cloth.
Fold the cloth so that it fits inside the silicon table.
・ Place the back part with the flat side down.
- It with the part of the striking tool.
Push out the peony from the silicon base.
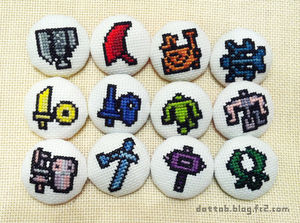
Source: dottob.blog.fc2.com
Original embroidered fabric!
It is also good to make your favorite pattern with cross-stitch.
Now let's make a badge using cloth. You can make a high quality badge that is incomparable to a badge made of paper.
1. First, to make your original cloth, print illustrations/photos on cloth paper that can be printed directly on cloth.
Search for "label shop" on the Internet (textile samples are available).
Print with an inkjet printer.
Dry well for at least 30 minutes.
Gently peel off the fabric from the backing paper.
Wash off any ink stuck in the eyes with water.
This completes the creation of the original cloth.
Next, wrap the cloth.
3. Attach a safety pin to complete the process.
Try making it with materials other than cloth
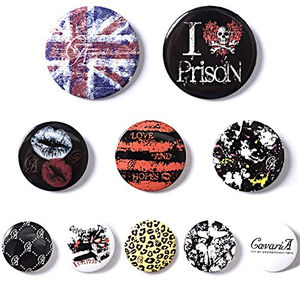
Source: www.amazon.co.jp
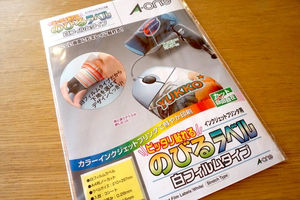
Use stretchy labels.
Source: kdama.net
Stretch Label
A type of backing paper (for inkjet printers) that stretches when pulled, suitable for pasting on curved surfaces.
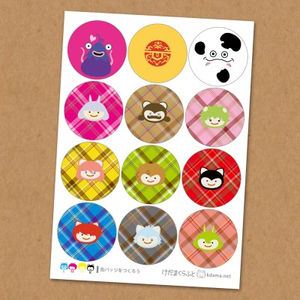
Source: kdama.net
Printing illustrations for badges
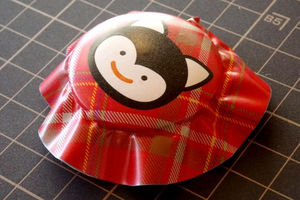
Source: kdama.net
Apply stretch labels.
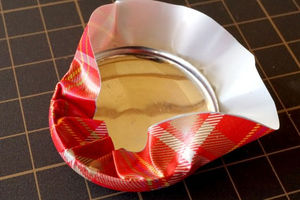
Source: kdama.net
fold inside out
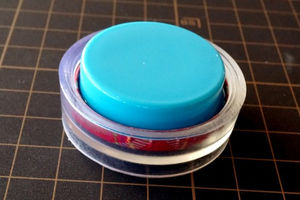
Source: kdama.net
press down with a hammer
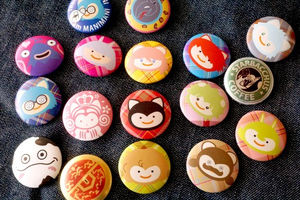
Source: kdama.net
Finished by attaching a safety pin.
Stretchable labels are sticker substrates (for inkjet printers) that stretch when pulled, making them suitable for attaching to curved surfaces.
The illustration to be made into a badge is printed on the stretchable label.
Templates for badges
http://kdama.net/?wpdmdl=6486
After printing, cut along the edge.
Trace the edge a little from the front side to make sure that it is applied in the center. Once the front side is attached, apply the sides. Pull the sheet slightly to avoid wrinkles.
Once the sides are attached, attach the remaining sheet to the back side. Fold the wrinkles on the back side as if you were storing it. If there is a wrinkle, pull the wrinkled area to adjust it before attaching the sheet.
Place the sheeted button on the hammering board.
Place the light blue tool on top of the button and press down firmly from above with your weight. If you hear a click sound and the metal fittings are firmly in place, it is OK.
After that, attach a safety pin and you are done.
We recommend this because it looks more like a badge than a cloth badge. The back side is slightly wrinkled, but the front side is smooth without any problem.
Use a water transfer sheet that allows the base of the badge to be utilized.
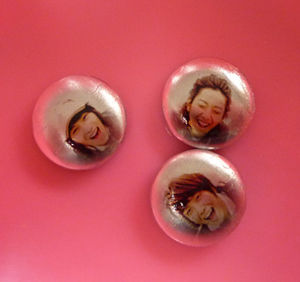
Source: kumaya1215.jugem.jp
Use a water transfer sheet that brings the substrate to life.

Contents
- Easy-to-make canned batches
- Let's make a badge with walnut buttons (basic version)
- How to make
- The biggest weakness in making badges this way
- Let's make a can batch with a walnut button (improved version)
- Making Can Batches with Walnut Buttons
- way of making
- Wrinkles even in improved and definitive versions.
- Creating badges using fabric prints
- Try making it with materials other than cloth
- Use stretchy labels.
- Use a water transfer sheet that allows the base of the badge to be utilized.
- Resin can be used to make even more wonderful badges.
- Decoupage is also recommended.
- Here, I came up with a way to fasten the safety pin.
- fasten with string
- fasten with tape
- Fasten with thin wire
- Fasten brooch pin
- Using safety pin parts
- Make it easier! Make it more beautiful! In that case, it is definitely a special kit.
- Hamepachi round badge
- Walnut Button Brooch Set
- How to arrange badges
- strap (often decorative for key-holder, mobile phones, etc.)
- magnet
- rosette
- For hair elastic decorations
- To record children's growth
- Specialized machine for badges
- Professional badge machine
- Can batch GOOD!
- Summary
- Related Links