
Here, we have compiled a simple method of making photocopied books for those who want to start their own doujinshi activities. Since this is a handmade method that does not involve a printing house, it is ideal for beginners of coterie magazine. Specific instructions for writing, binding, and reference sites are also included.
Whatever it is, let's actually make it first!
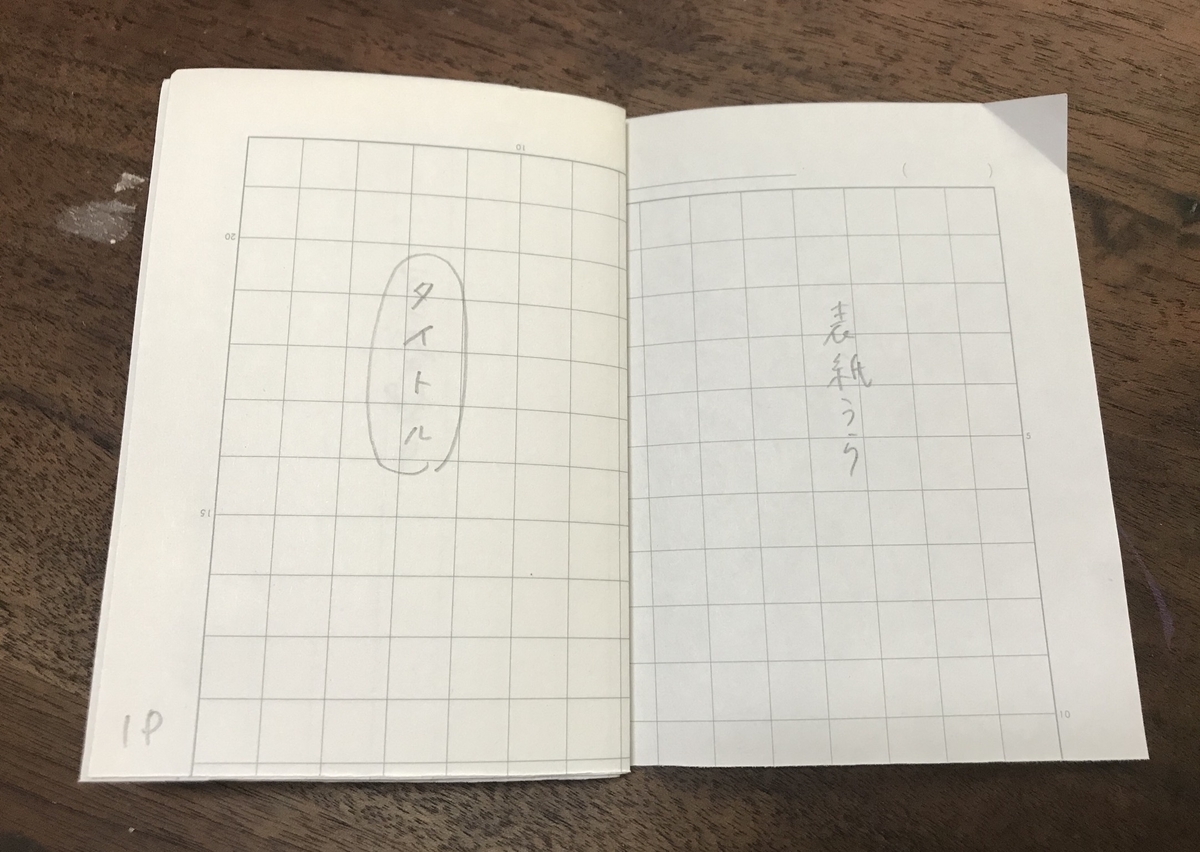
1.Writing (drawing) a manuscript
Source: tjworks.com
Basically, unlike in the case of the offce, it's a little rough to say the least,
The "just copy and copy" allows the use of ballpoint pens, blue ink, etc., which cannot be used in the off-set.
However, if you plan to re-record the manuscript later, it is better to write in black ink as in the off-set.
Source: djryu.jugem.cc
2. Create a "daiwari" based on the finished manuscript.
Source: tjworks.com
We recommend that you make the table layout after the critical manuscript is completed.
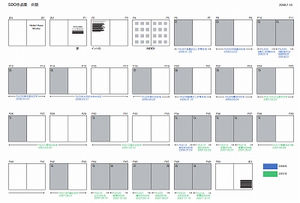
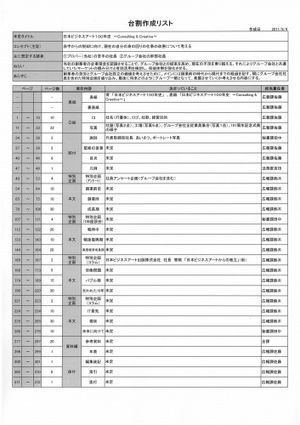
Now, this "table layout" is, to put it simply, like a "list of every page in a book.
Source: otagaisamahaus.blog.shinobi.jp
Right/left confirmation, number of pages, etc.
For photocopied magazines,
the layout is something that he/she should be able to figure out for the time being.
3. Finalize the page structure based on the table layout.
Source: tjworks.com
The basic rule for copy magazines is "4-page units". (There are exceptions.)
So, please adjust well so that the final number will be a "multiple of 4".
Source: www.shashi-kyokasho.com
4. Imposition
If you make a mistake in this step, you will be in big trouble, so be careful.
The imposition method varies depending on whether the document is "saddle-stitched" or "flat-bound," so be careful.
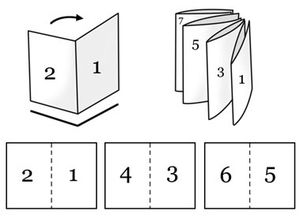
Source: www.manga-seikatu.net
How to make a book with flat binding
In the case of flat binding, it must be impositioned as shown in the figure.
This is for single-sided copying, not double-sided copying, as shown in the bag binding.
The front and back covers can be glued or bonded afterwards to keep the binding from being visible and to ensure a clean finish.
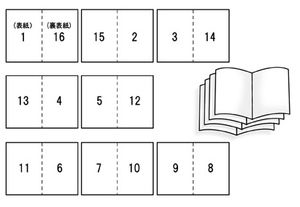
Source: www.manga-seikatu.net
How to make a saddle-stitched book
When saddle-stitching, it is necessary to imposition as shown in the figure.
This is a bit more troublesome than flat binding, but it is easy to do if you understand how it works.
Template for printing saddle-stitch bound booklets (catalogs, albums, papers, photo albums, etc.)
www.wave-inc.co.jp
↑There is a page of templates for saddle-stitching.
5. Copy
Source: tjworks.com
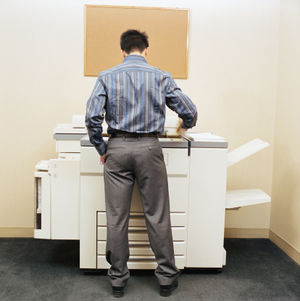
Copy the front and the back so that the combination of the front and the back is correct.
(I'm sure many of you have cried in the middle of copying because you realized you made a mistake in the imposition at this stage.)
Source: welcome-to-gettyimages.jp
6.Binding
Source: tjworks.com
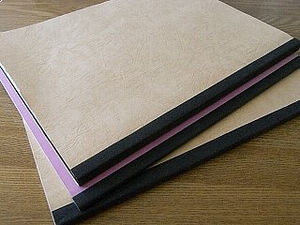
Fold the photocopied material in half and bind it into a book.
Before finishing the book, check to make sure that the direction of the folds and the pages are aligned correctly.
The bookbinding process is divided into three ways: saddle-bound, saddle-stitched, and flat-bound.
Source: maya555.seesaa.net
7. Finishing
Source: tjworks.com
It could be done at the previous stage, but it's a step for those who can afford it and those who insist on it.
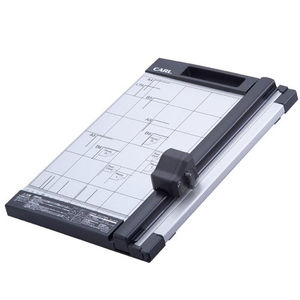
Looking at the 3 sides except the spine, it is not so beautiful & hard to roll up, so I cut it.
(So it will be 1-3mm smaller than the normal A5 or B5 size.)
Source: www.amazon.co.jp
A cutting machine can be used for a clean cut.
For thin books, a cutter and a ruler can be used instead.
